Photo Corners headlinesarchivemikepasini.com
![]()
A S C R A P B O O K O F S O L U T I O N S F O R T H E P H O T O G R A P H E R
![]()
Enhancing the enjoyment of taking pictures with news that matters, features that entertain and images that delight. Published frequently.
Friday Slide Show: Street Shooting


19 February 2016
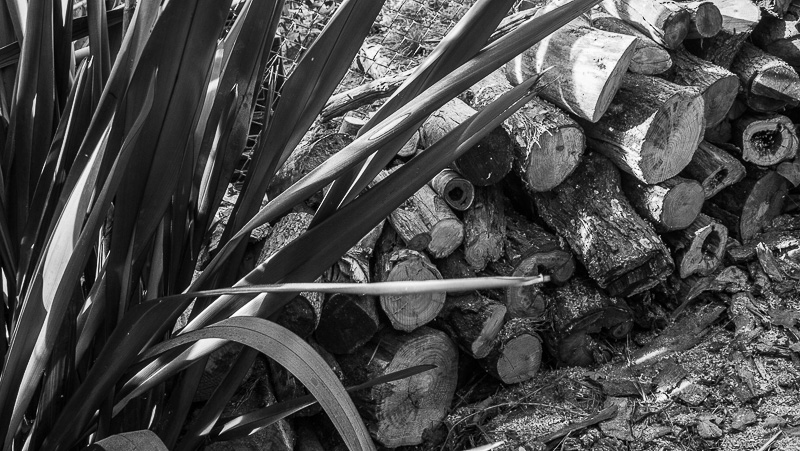
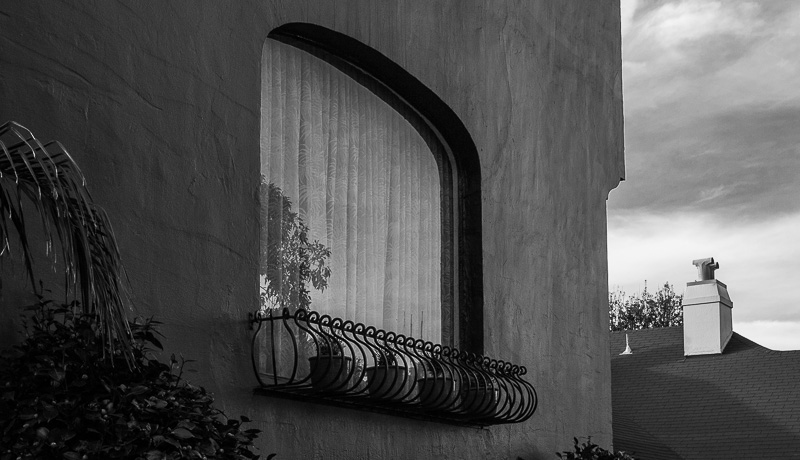
When we were taking these shots late in a winter afternoon, we realized they were black-and-white images. That rarely happens. Usually, we sit at the keyboard and try out a monochrome conversion to see if we like it before realizing it's the way to go.
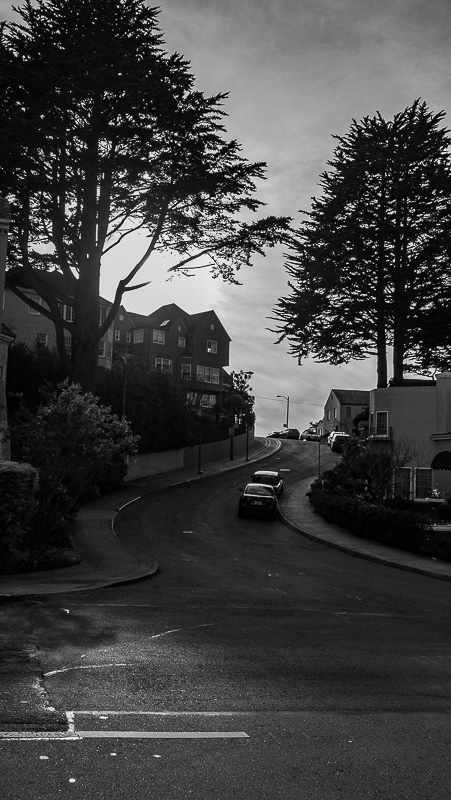
But the sun was low, there was a lot of glare with the sun in front of us as we walked around the southern face of Mount Davidson and it was reflected from the street surfaces. So, you know, we couldn't really see what we were shooting.
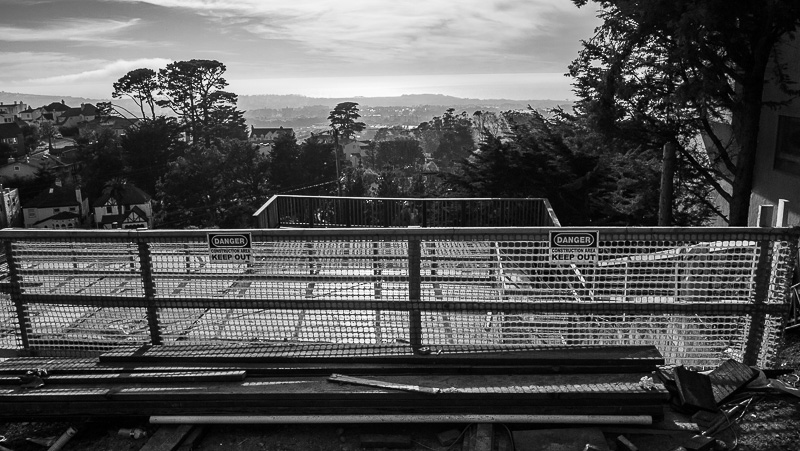
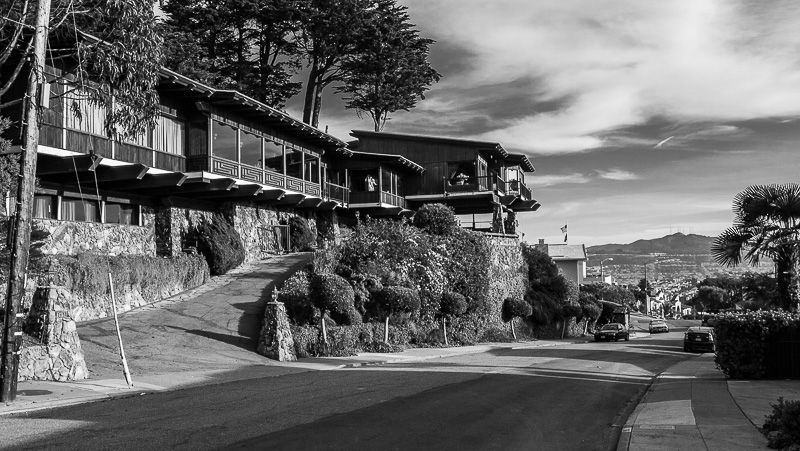
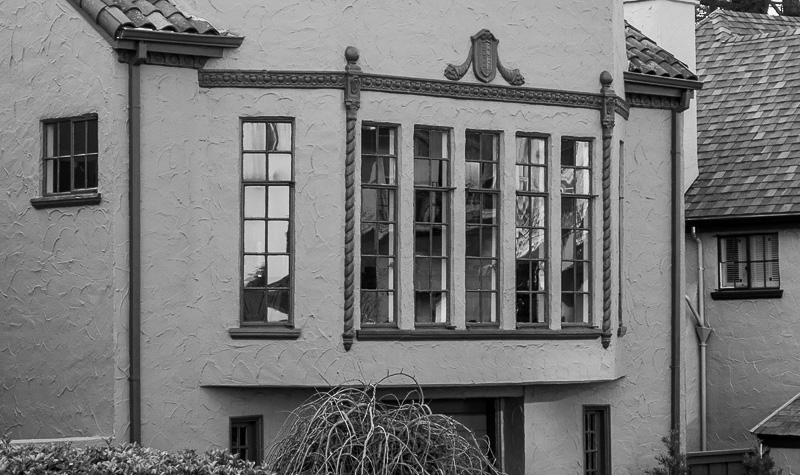
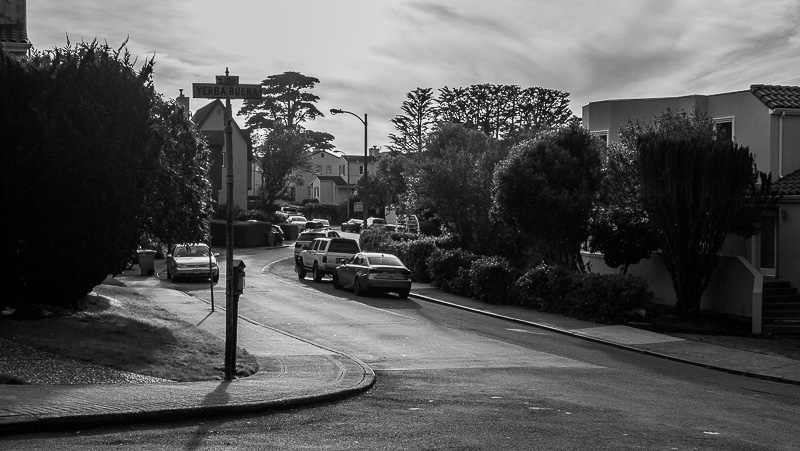
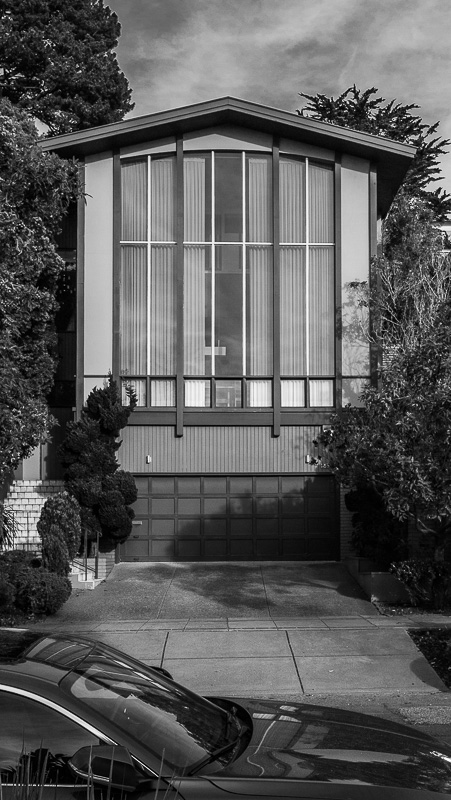
Just streets. In a sort of geometrical arrangement that appealed to us, winding around straight buildings like a snake in the grass.
There are no people in this slide show, sorry for the misleading headline. No wizened wrinkled faces, no children performing death-defying acts, no pets looking quizzically at their human wards.
They were all Raw captures so we could work the shadows and highlights, which we realized were going to fall off their end of the histogram. The light was just too extreme.
There are no people in this slide show, sorry for the misleading headline.
And, as we always do, they were converted from the camera's proprietary Raw format to DNG. There are a lot of things that make the new full-frame Pentax K-1 attractive and saving Raw captures as DNG is certainly one of them.
Then we imported them in to Lightroom where we converted them once more from color images into monochrome images.
Our camera, like most, has a monochrome mode. So why, you mgiht wonder, didn't we shoot in monochrome mode?
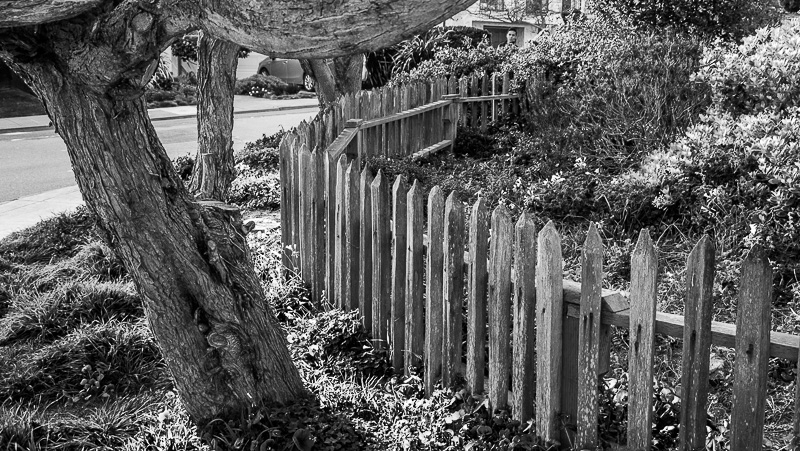
Because you lose all the color information, which can be very helpful in adjusting ranges of tone based on their color. Think of it as having a bunch of color filters built into each shot that only affect one color range. Just blues, just yellows, just greens. You can lighten or darken just those colors, that is. Selective contrast, in short.
The trick is to be furtive. Slide each color slider in the B&W panel back and forth. Switch back to the Color panel to see which colors you want to manipulate with the sliders. Then back to the B&W panel. And finally, consider adjusting the tonal sliders in the Basic panel again.
Sometimes, for example, we were able to bring out the sky by adjusting just the Blue slider in the B&W panel. Others, we had to adjust the Highlight slider in the Basic panel.
We used the Upright tool a good bit to attack converging verticals but we were judicious about the use of the Dehaze tool. Were these color images, we might have used it more but we liked the receding tonality in the monochromes and left it alone.
Before we knew it we were done. Which is how things like this should go in the computer age. All play and no work.