Photo Corners headlinesarchivemikepasini.com
![]()
A S C R A P B O O K O F S O L U T I O N S F O R T H E P H O T O G R A P H E R
![]()
Enhancing the enjoyment of taking pictures with news that matters, features that entertain and images that delight. Published frequently.
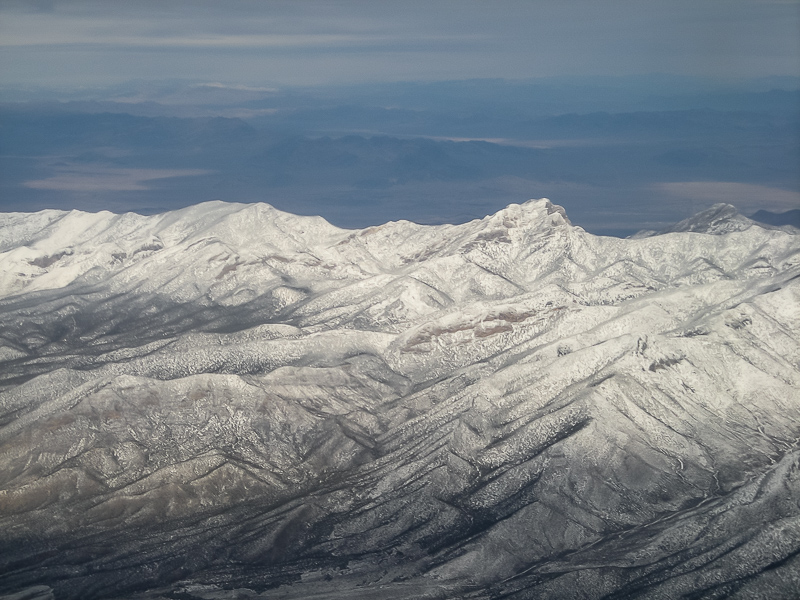
Friday Slide Show: Over Nevada


9 December 2016
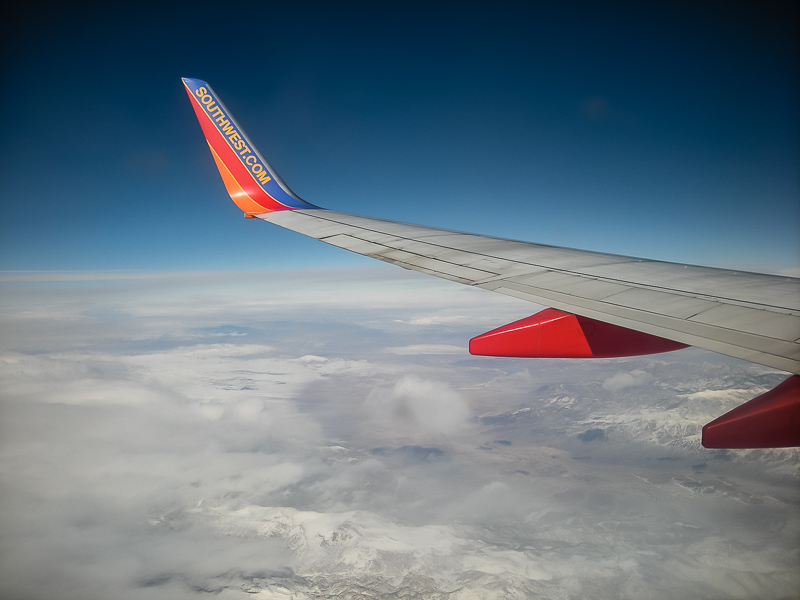
The temptation to take photos through the window of a passenger jet can be overwhelming. The sights from above are just too rare, too beautiful and too fleeting. Resistance is futile.
Results are pretty futile, too. If it isn't atmospheric haze, it's glare from the sun. The captures are always washed out mockeries of the beauties you've seen with your own eyes.
If there was ever a case to prove the usefulness and joy of post processing, it's aerial photography. Spend a minute in post with your capture and you can restore the image to the glory you admired from the air.
If there was ever a case to prove the usefulness and joy of post processing, it's aerial photography.
These images from a 2008 flight to Las Vegas from San Francisco are a good example of the power of post. They were shot with a Nikon Coolpix S510, all at ISO 64. Aperture, shutter speed and focal length varied from shot to shot.
The S510 was no ground breaker. It featured an 8-megapixel sensor with a 3x zoom in a compact, pocketable design. We were in the midst of reviewing it and took it along to PMA that year.
It had been raining when we left San Francisco 20 minutes late. But when we had achieved altitude and looked out the window, we were charmed. So we slipped the little camera out of our travel bag and started shooting.
The S510 only captures JPEGs so we couldn't have shot Raw if we had wanted to. These, after all, were the limited digicams the smartphone had little trouble obliterating.
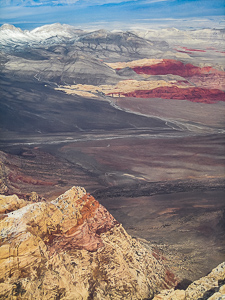
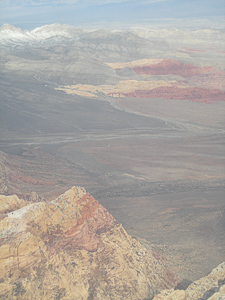
So you have to wonder how much post processing could do for these washed out images. A lot. As our rollover on the left demonstrates when you compare the final edit to the original, washed-out capture.
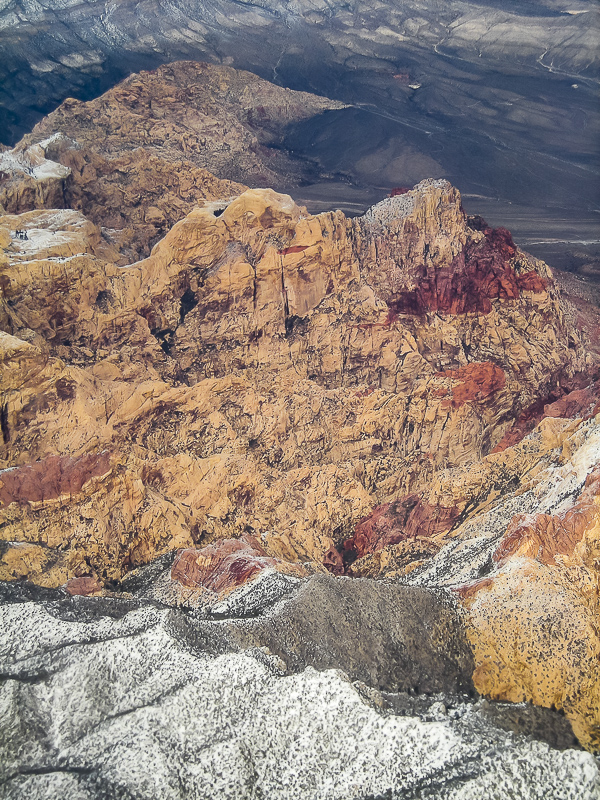
We used Lightroom CC to import the JPEGs. Then we jumped into the Develop module where we applied our Capture One imitation preset to handle some fine points like sharpening, color temperature and contrast. That always improves the image but not dramatically.
We gave each of these a heavy dose of Clarity (40) to improve midtone contrast, which makes them all look a good deal sharper. Remember they were taken through a plexiglass window.
We adjusted the Highlights slightly to get a little more detail but these aren't like iPhone JPEGs that routinely sacrifice the highlights. There was highlight detail to enhance in these.
We deepened the Blacks slightly in a few of these, too. But the big hammer was the Dehaze filter. We ran the slider up to 12 on all of these. And suddenly we could see clearly.
That's not a lot of work and it was easily applied to the next image in the collection with a simple
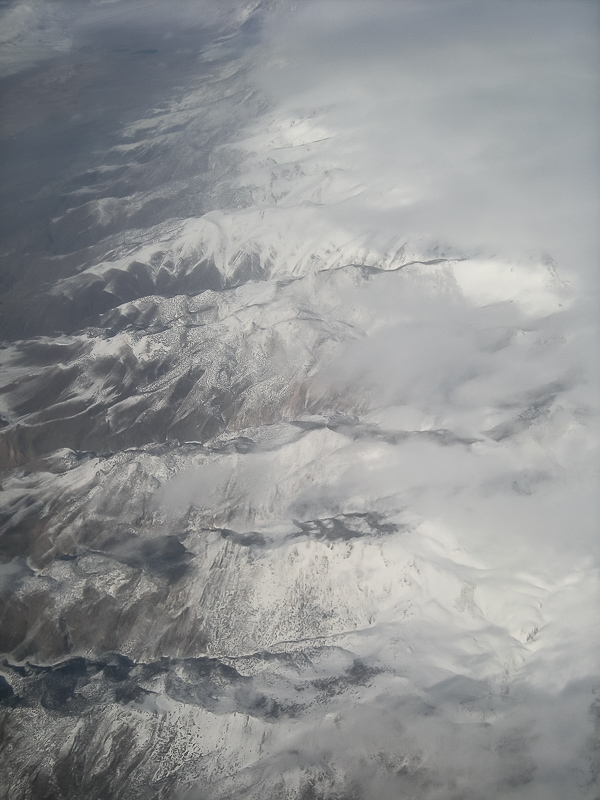
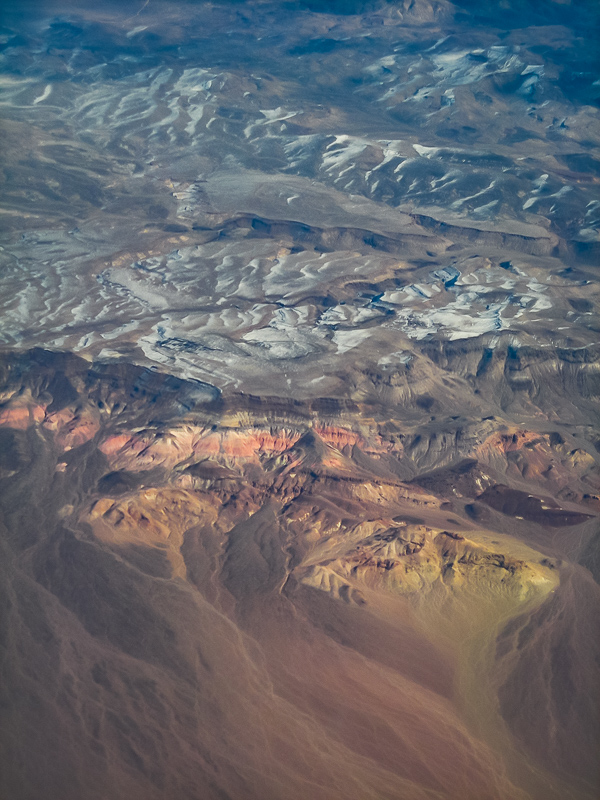
Paste Settings from Previouscommand. If we hadn't been so mesmerized looking at the results, we would have been done in less time than it takes to brew a cup of drip coffee.But mesmerized we were. And we hope you are, too. We have no idea where these features of our planet actually are except to confirm they are on a route from California to Nevada.
Fasten your seatbelt.