Photo Corners headlinesarchivemikepasini.com
![]()
A S C R A P B O O K O F S O L U T I O N S F O R T H E P H O T O G R A P H E R
![]()
Enhancing the enjoyment of taking pictures with news that matters, features that entertain and images that delight. Published frequently.
Friday Slide Show: The Golden Gate


6 January 2017
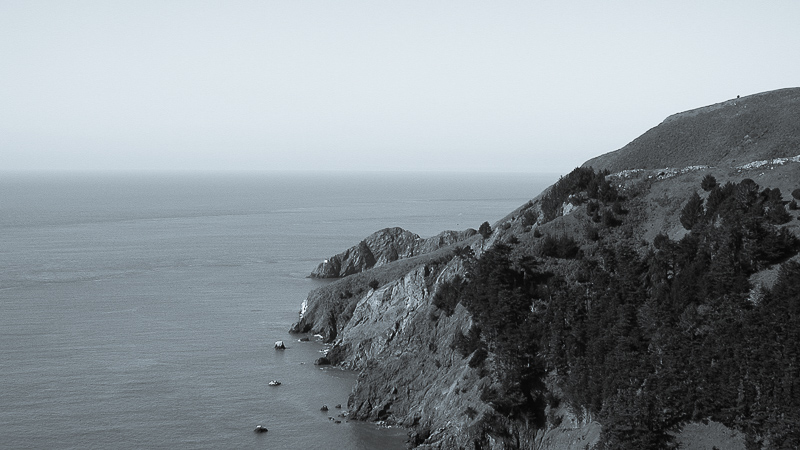
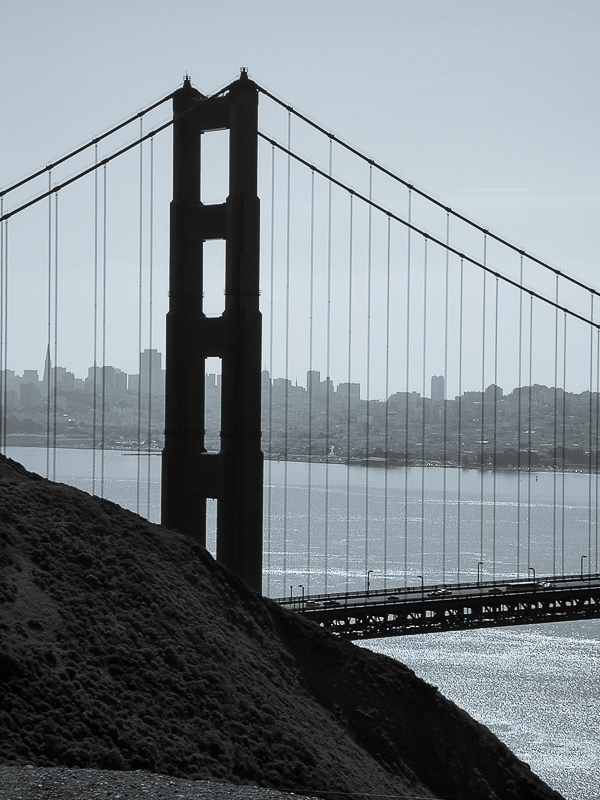
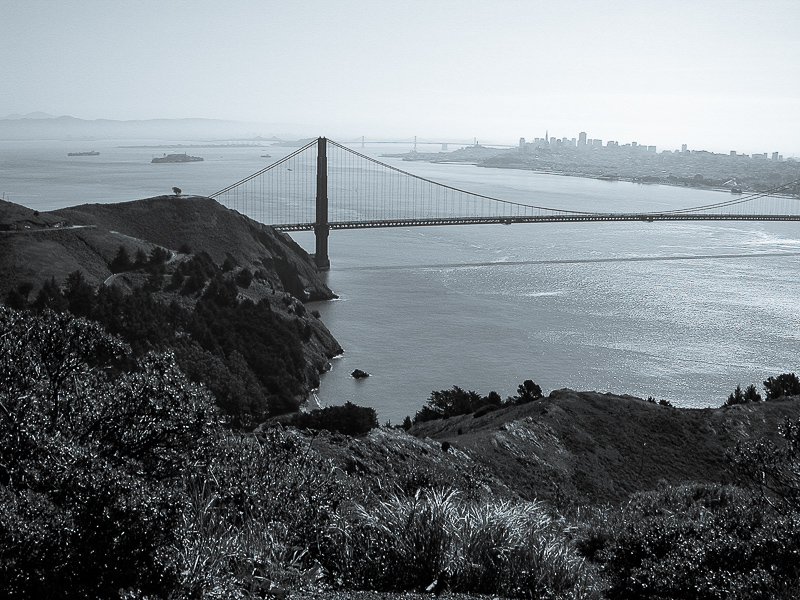
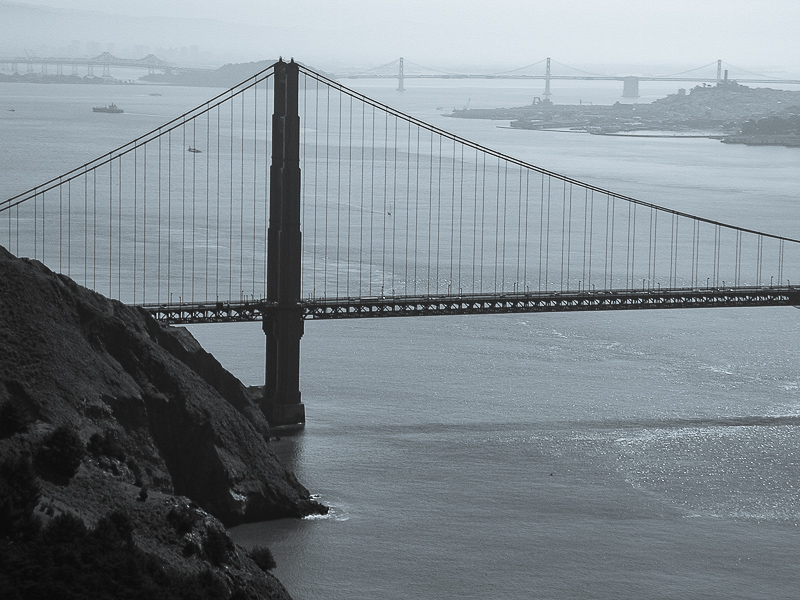
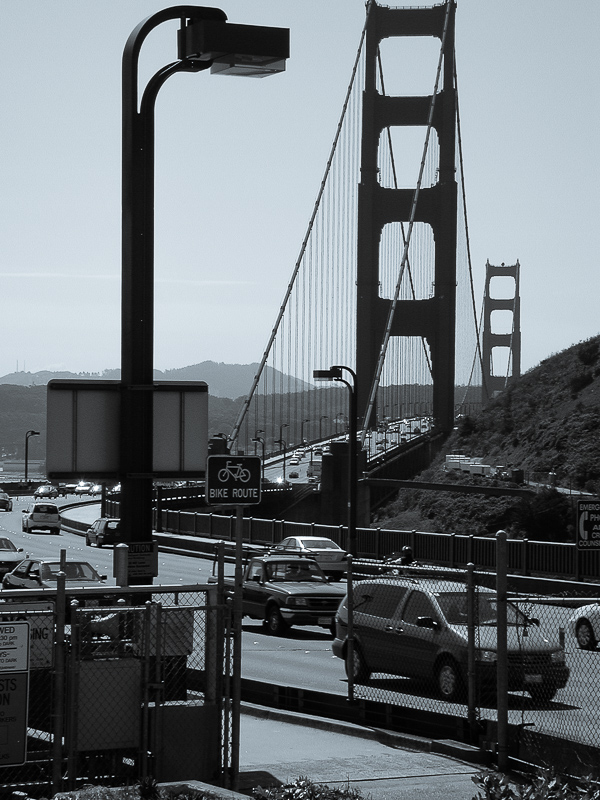
Between the Marin headlands and the San Francisco headlands lies the strait of the Golden Gate. The bridge that takes its name from the strait steals all the attention but the strait itself is its own wonder of the world.
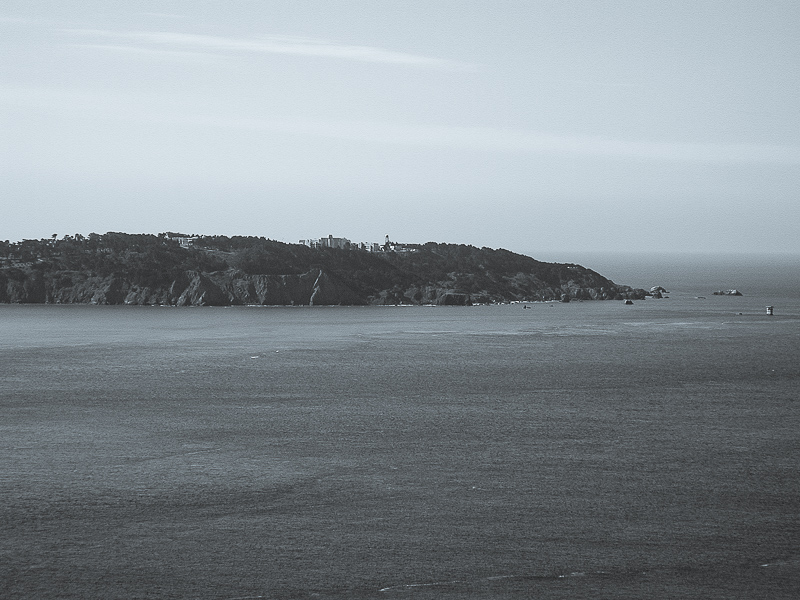
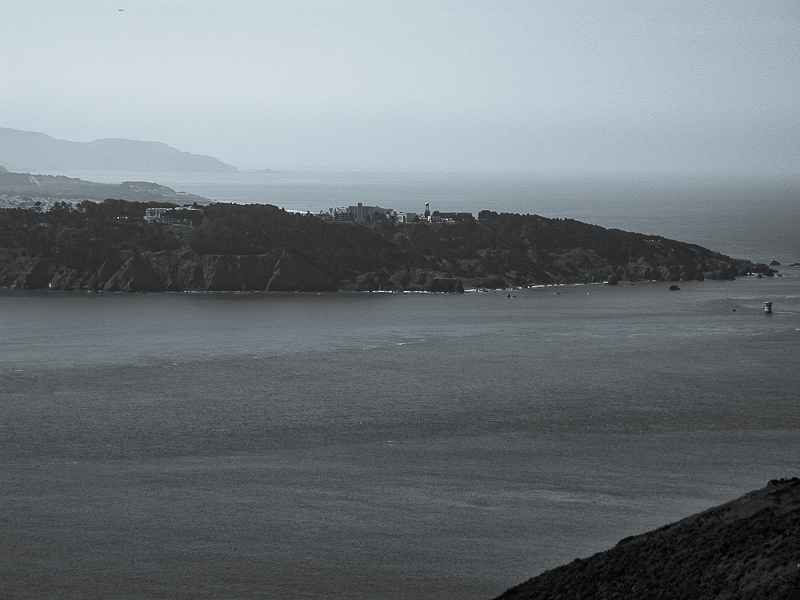
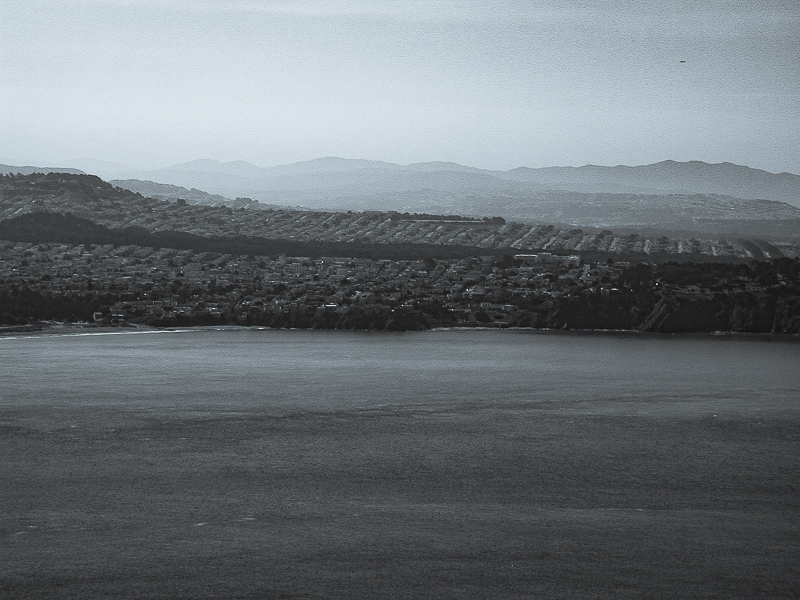
And from the Marin headlands, there are excellent views south of the city of San Francisco through the bridge itself and the outer lands of the city along the Pacific Ocean.
The trick is to get to Marin.
In 2002 we were breaking in a new Specialized Hard Rock mountain bike with a trip across the bridge and through the Marin headlands. We brought along our Nikon Coolpix 990 and stopped to take photos across the strait.
It was a sunny day and we were looking directly into the sun.
It was a sunny day and we were looking directly into the sun. The color captures gave the water a lovely turquoise color that went blue as we looked west or east.
But it didn't take us long to wonder what these images would look like in black and white. And just to make it interesting, we tried them with a selenium preset after our color edits.
You can blame the 990, which is pretty good with color, but we preferred the selenium versions. One of the things we like most about this set is the glare off the water and that's about all the selenium versions show. The color versions distract from that.
For the color versions, we used our usual Lightroom process, kicking up the Clarity and adjust the Shadows and Highlights. We also needed a good dose of Dehazing on several of them.
But when we applied the selenium preset, we had to go through all the images again in the Develop module, applying Clarity and Dehazing again. We also used an Adjustment Brush to open up the Shadows on images with foregrounds.
We never do that, frankly, but when we managed to get some detail in the distant subject on the other side of the strait, we plugged up the foreground. So we took a brush to it.
