Photo Corners headlinesarchivemikepasini.com
![]()
A S C R A P B O O K O F S O L U T I O N S F O R T H E P H O T O G R A P H E R
![]()
Enhancing the enjoyment of taking pictures with news that matters, features that entertain and images that delight. Published frequently.
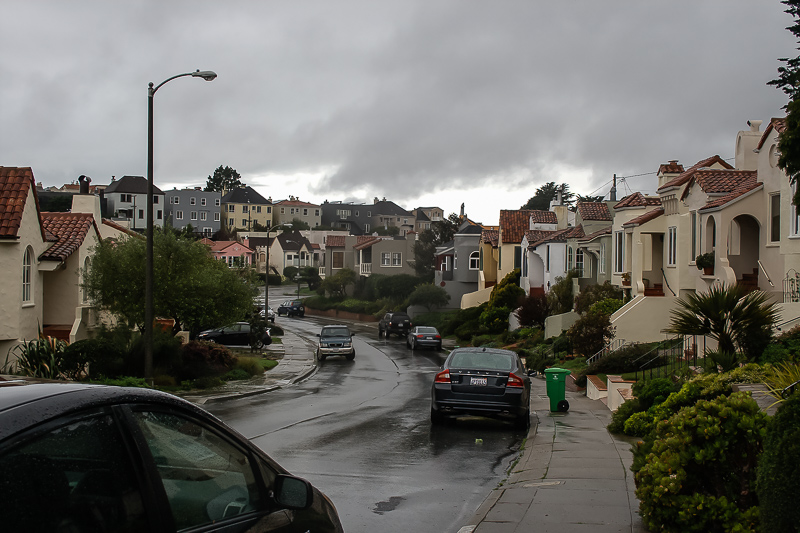
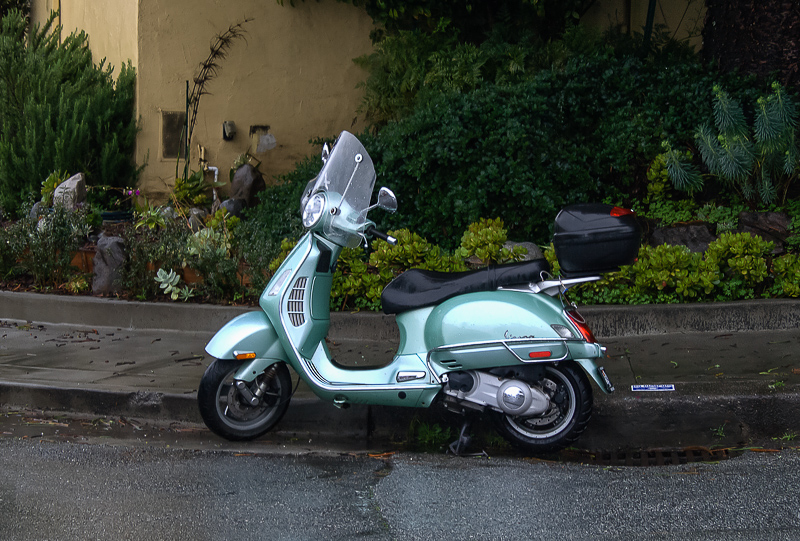
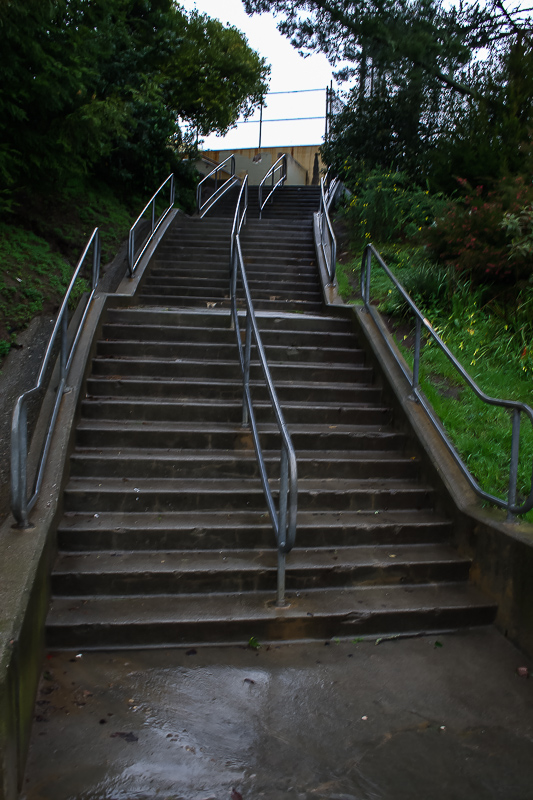
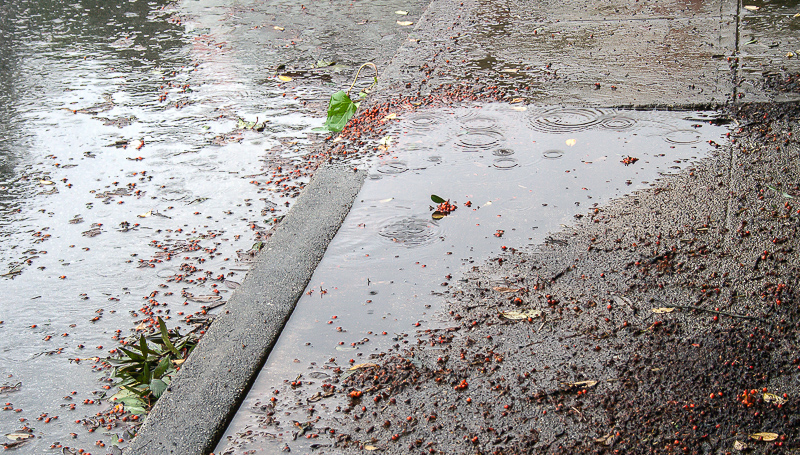
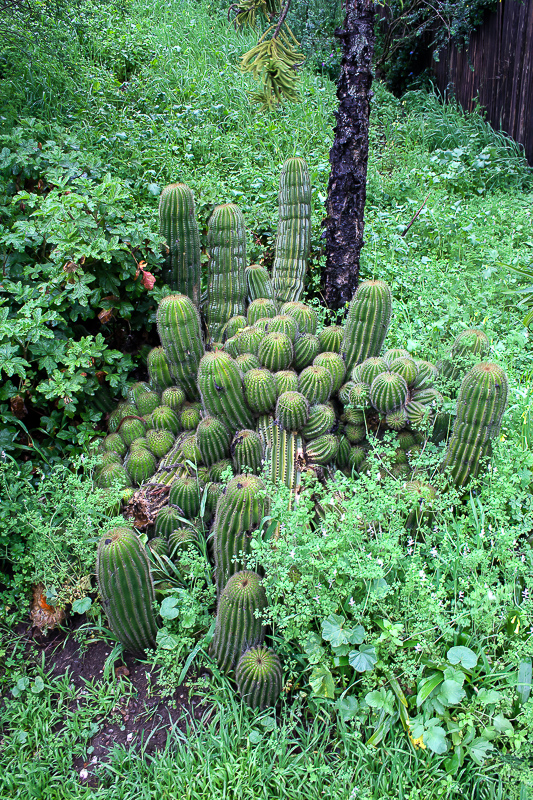
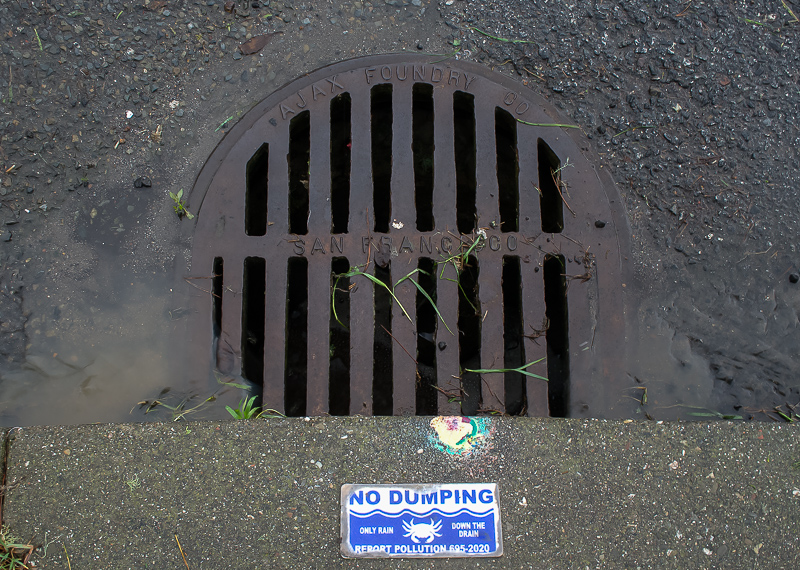
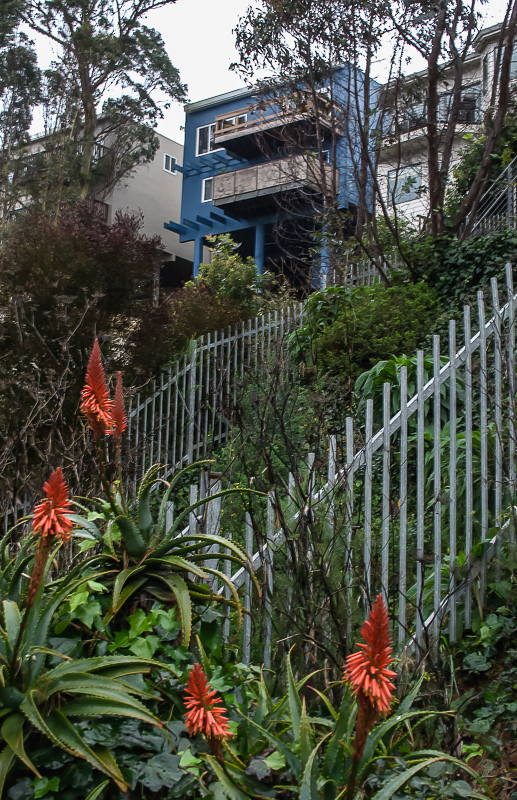
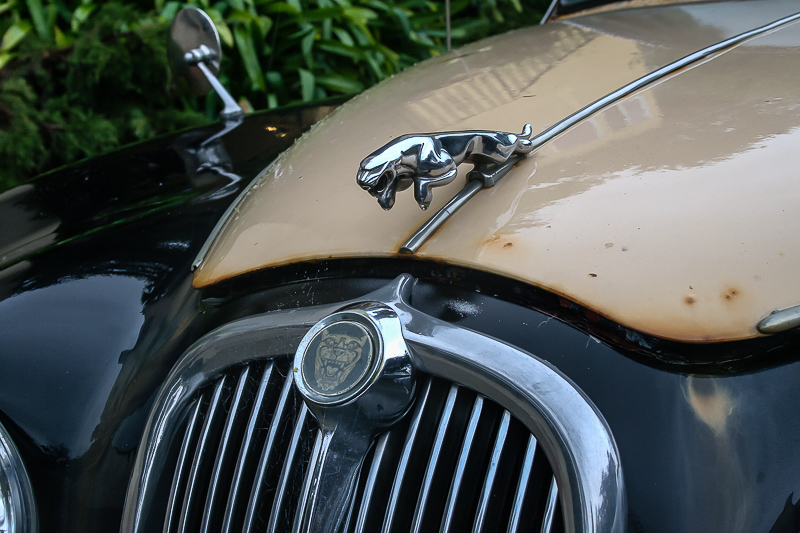
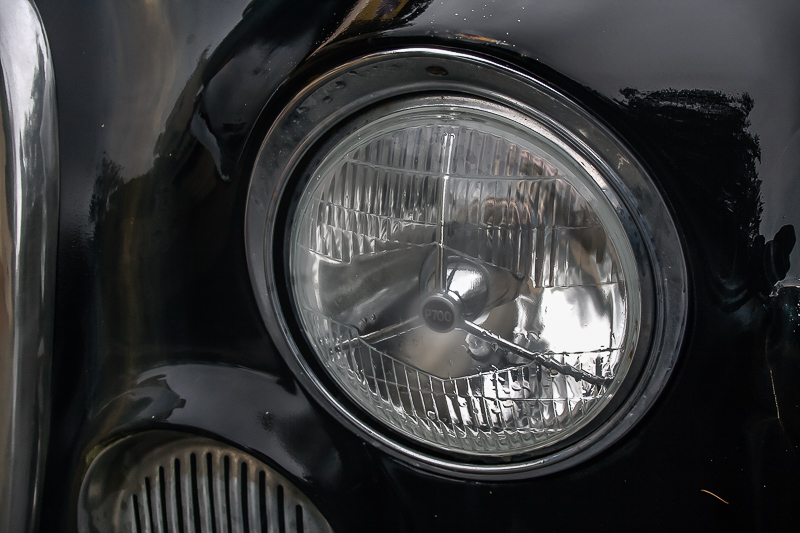
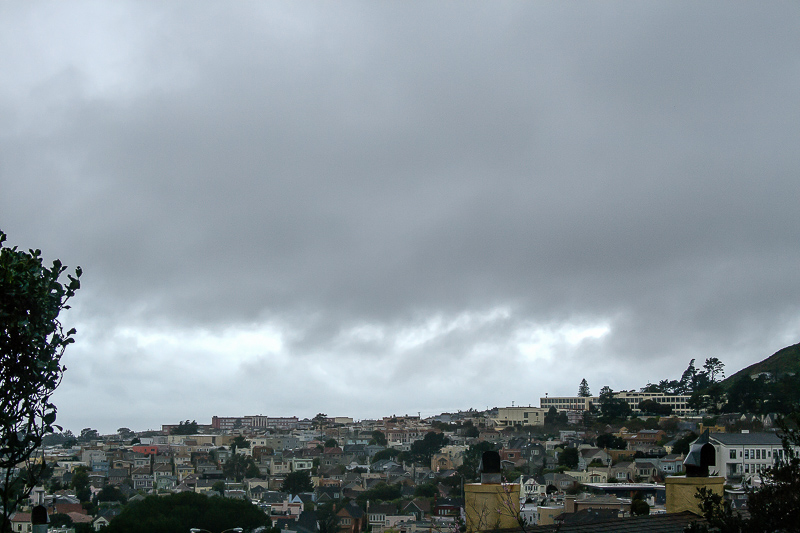
Friday Slide Show: A Walk In The Rain


10 February 2017
The story this week is more about the walk than the photos. It was raining. But that didn't stop us. We took a two-hour stroll through the neighborhood snapping photos with a dSLR as if the sun were out.
We were able to do that because we took a few protective measures we're happy to detail.
Good waterproof shoes are highly recommended along with a hooded shell that sheds water. That shell not only protects you but it shields your camera from the rain as you walk around too. Put your camera on first, then the coat.
We chose our least favorite dSLR, the Canon Rebel XTi with its 18-55mm kit lens (the one that is not stabilized). Its JPEGs are so disappointing we'd prefer a smartphone if it didn't also capture Raw. So these images all started out as Raw captures, converted to DNGs on import.
If anything were to happen to the old XTi we'd just put it on the shelf as a knickknack and forget about it.
What could happen? Well, it could get wet and stop functioning. Electronics are like that.
To carry it around, we attached it to a Custom SLR Glide One camera strap ($64.95). The shoulder part of the strap is a Split Strap, which is so comfortable you don't know it's there. The camera is attached quickly with a C-Loop strap mount that screws into the camera tripod mount (the Rebel is a very light camera so that's harmless). And the C-Loop is attached to a clip that slides easily up and down the front strap while the shoulder strap remains on your shoulder.
So it's quick to attach and easy to whip out of your jacket into position. And just as quick to slip back under your jacket when you're done.
We avoided peeking at the lens because that would have meant pointing it up, which would certainly have splattered it with water.
We did not protect the camera with a baggie or any housing. We've used a Think Tank Photo Hydrophobia rain cover ($149.75) but ours was designed for Nikon dSLRs. And the window has fogged since we acquired it, making it less than useful.
So we had a pretty good setup for walking around but we did miss one or two things.
A cap with a bill would have been handy for keeping the rain out of our face, for example. Hood over that would have been ideal.
But more importantly, a lens hood would have protected the front element of the lens from rain drops. Canon, unlike Nikon, only supplies lens hoods as an accessory. Hoods not only shade the lens from the glare of direct sun, they protect them from accidentally bumps and the occasional rain drop.
We were careful to point the camera down mostly and away from the rain, but we shouldn't have to worry about that. We avoided peeking at the lens because that would have meant pointing it up, which would certainly have splattered it with water. Carrying a microfiber to sop up any rain is not a bad idea, although using it in the weather itself can be a chore.
The camera did get wet. There was no way to avoid it, obviously. And we didn't try to dry it during the walk. We can't say it got soaked but there were rain drops on the protruding lens barrel (which, when retracted, might have fouled things up inside the lens) and on the body itself.
When we got back to the bunker, we shed our wet clothing and followed Moose Peterson's advice in When Your Gear Gets Wet. Which is simply never to wipe your gear dry but blot it dry. We just got a wash cloth, laid the Rebel on it and by the time we got back to it, it was mostly dry. We just dabbed the few remaining wet spots, polished the LCD and gave the lens a once-over with a microfiber cloth. Good as new.
So what about those images?
Well, we've come to expect underexposure from our Rebel (since Day One, in fact). And the light was poor. Still it managed to overexpose quite a bit. Our hedge against this wasn't to shoot manual because we didn't want to expose the camera to the elements longer than necessary. Our hedge was to shoot Raw and worry about exposure in post.
But we also know that lens is no prize winner. So the first thing we did was open the set of images in Photo Mechanic to see what we had, what was sharp, what was blurry. We selected a few for the slide show and copied them to a folder.
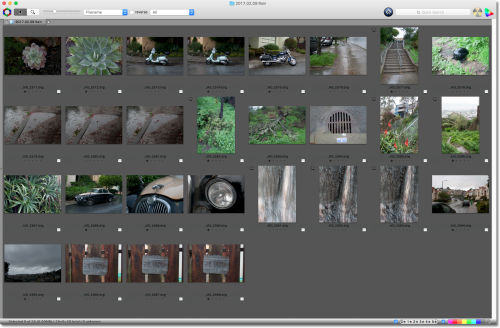
Photo Mechanic. Perfect for browsing a folder of images.
Then we launched Piccure+ to render the DNGs to TIFFs optimized for sharpness. Even though the slide show only displays 800-pixel images, Piccure+ can work such wonders on a capture you can still appreciate the difference.
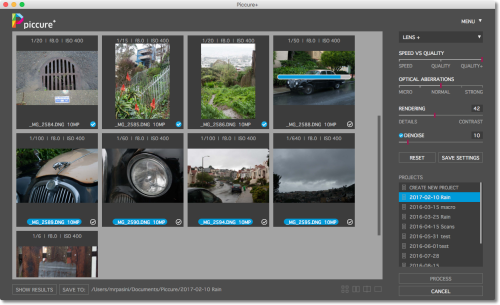
Piccure+. Hard at work optimizing the captures.
Then we loaded the TIFFs into Lightroom to do our usual cropping and tweaking before exporting. Not quite as much tweaking, but even a little dose of what we normally do helped move the rendering toward our particular preferences.
So what have we demonstrated?
Disparage it as we might, the Rebel captured enough data that using modern image editing tools like Piccure+ and Lightroom delivered some refined images. You can see what the camera thought a good rendering might be in the Photo Mechanic thumbnails above (and they aren't pretty).
But Piccure+ recovered the images with a much better rendering from shadows through highlights, including sharpness and noise suppression. And Lightroom let us tweak them to our taste manually.
But you be the judge. Could be we're still all wet from the walk, you know.