Photo Corners headlinesarchivemikepasini.com
![]()
A S C R A P B O O K O F S O L U T I O N S F O R T H E P H O T O G R A P H E R
![]()
Enhancing the enjoyment of taking pictures with news that matters, features that entertain and images that delight. Published frequently.
Friday Slide Show: Golden Gate Heights


13 December 2013
Yesterday was our fifth consecutive Spare the Air day. No burning in the fireplace. Prevented from rubbing two sticks together to keep warm, we bundled up, popped the Rexatar on the Nikon D300 and hiked up to Golden Gate Heights.
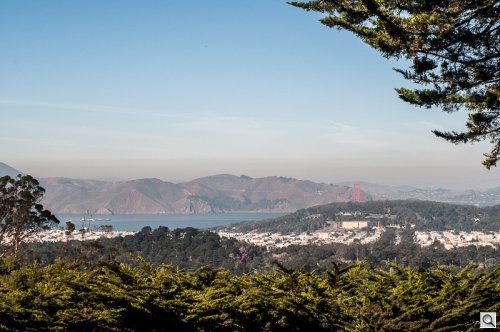
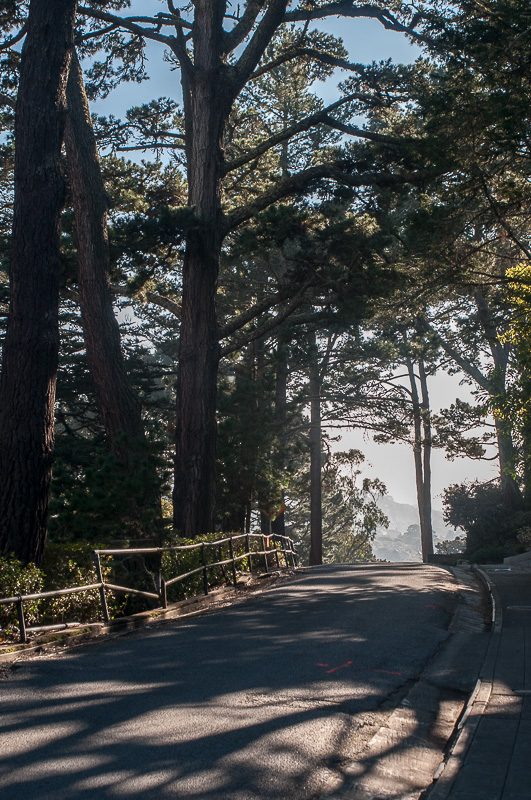
The View North. The Clarity slider in Lightroom overcame some of the haze (which really helped the Marin headlands, not to mention the bridge). Click on the image to start the slide show.
Golden Gate Heights is not on the tourist map. There's nowhere to shop, nowhere to dine (unless you happen to live there).
The roads wind around the hills, every house a different design (or so it seems), with views to the west of the Pacific Ocean, the Marin headlands to the north, the city to the east. Spectacular.
And it's quiet. We hardly passed a soul. And didn't hear a single dog bark. Almost felt like apologizing for the sound our shutter made.
VISION
The views may be spectacular but the haze spoiled that fun. Instead, we wandered around trying to improve our eye. What could we see?
That's not easy under any circumstance but when you are climbing steep hills it's a little taxing to stay focused. You're breathing too hard. You're thinking about your health insurance. When the last time was you had a physical.
You start wondering what would happen if you collapsed in the street. Who would come out of their lovely home to see if you needed medical care. Or a drink.
Then you take a deep breath, recover and look around again.
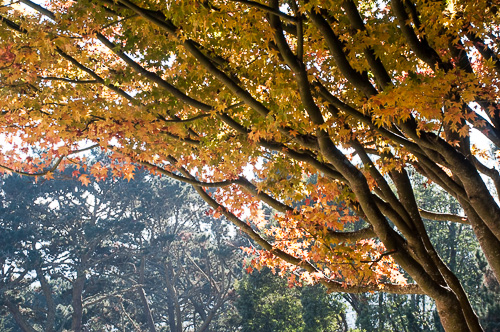
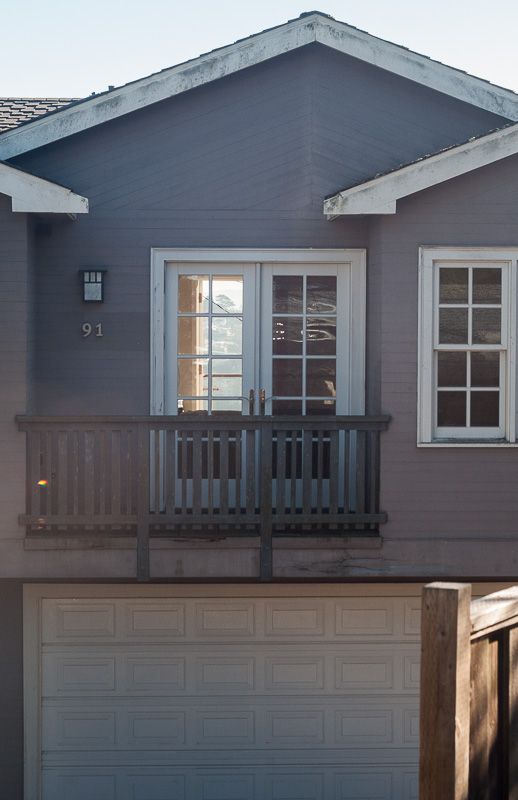
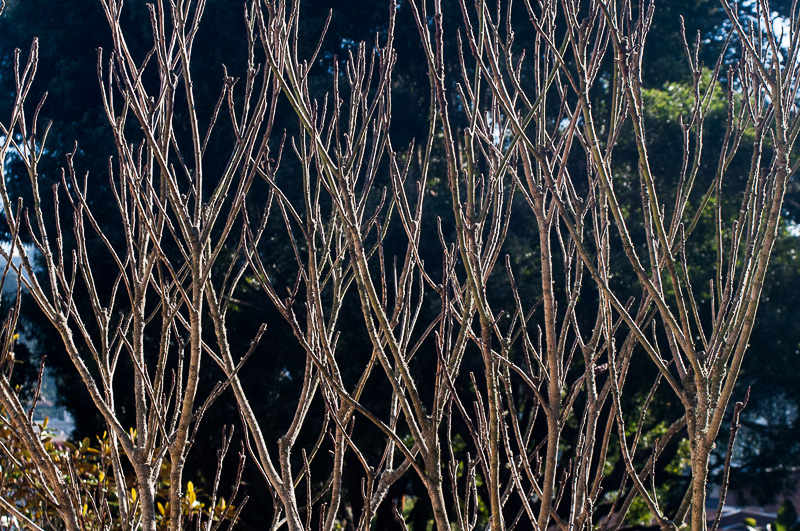
Maybe you see a ladder to the sky reflected in a picture window. Or a door opened to a balcony on the other side of house in shade. Or some gorgeous leaves still clinging to some color. The sun is low and the effect dramatic. You stop to line up a shot of some holiday lawn decorations that made you smile.
An exercise in vision.
FOCUS
Focusing the Rexatar wasn't easy. Maybe it was us. Delirium from climbing the hills. And the polarizing filter we had on the Rexatar didn't help.
When we got confused, we looked at the aperture, found the hyperfocal distance and manually set it. We weren't far from infinity most of the time anyway.
But focus is one thing you can't fix later. It's worth the time to make sure you've gotten it right.
To confirm our focus, we scrutinized the image at 100 percent on the LCD. We were in no hurry.
AN EXPOSURE ISSUE
The dramatic lighting confused the D300 a bit. And the Rexatar, which gains a stop as you widen the focal length (well, that's how we prefer to think of it, rather than losing a stop as you narrow it), added to the fun.
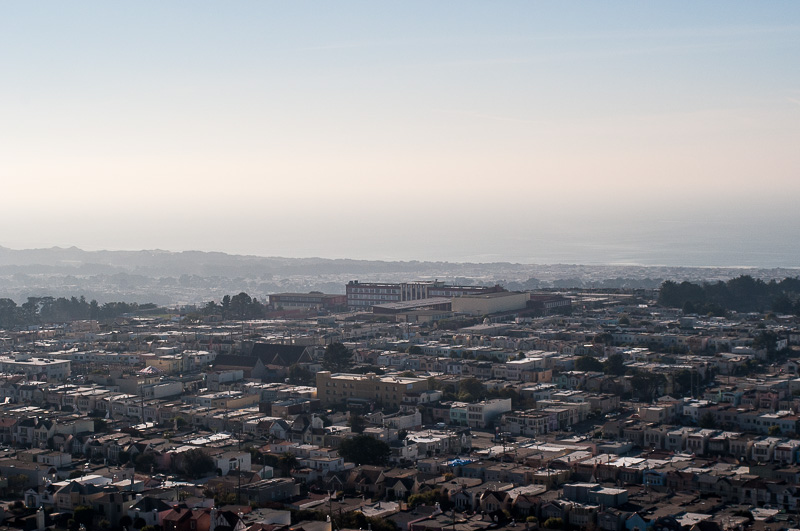
EV Adjustment. A modest one for this image of just -0.7 EV. We did shift the white balance a bit warmer, too, with the Temp slider so the distant trees were not blue. Click to enlarge.
We found we were overexposing quite a bit now and then. So, shooting with Aperture Priority (with an old manual lens, it's that or Manual), we cheated the exposure down, ranging from -0.7 EV to -2.0 EV. All the shots in the slide show had an EV adjustment.
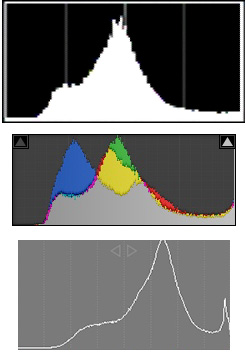
Histograms. Top to bottom: D300, Lightroom, HDR Expose 3.
How do you know how far to go with EV compensation? The truth is that you're winging it. We were shooting Raw+JPEG, so we knew we had more information in the capture than we were seeing on the LCD preview. And we're not just talking about the image display.
As Nikon puts it in the manual, "Camera histograms are intended as a guide only and may differ from those displayed in image editing applications."
We suspect that's simply because they're based on the JPEG.
To the right we've got three screen captures of the same histogram (for an unprocessed image of the same scene as EV Adjustment image above). The top one is from the camera itself. Next, in color, is the histogram for the unprocessed image in Lightroom. And finally, the histogram from HDR Expose 3's 32-bit space.
Looking at the camera histogram, which show no EV compensation, what would you do? Underexpose. How much? That's where you wing it.
The main thing is to go in the right direction. Expose a little less in this case. When we saw something we liked at -0.7 EV in the LCD, we moved on knowing the Raw data would forgive any inaccuracy.
LIGHTROOM 5.3
We imported our images into the newly-installed Lightroom 5.3 with Camera Raw 8.3 and kind of liked our sense of inaccuracy. You couldn't tell right off the bat, though.
Lightroom wanted to kick up the Exposure on all of our images, undoing our EV adjustment, in effect. It was being just as silly as our D300 had been. When we kicked things back to zero on Exposure, we liked what we saw.
We didn't fool around in the Library module after importing the images, going straight to the Develop module to tweak them. That's the fun part. And it really is fun to see your images come alive with the slip of a slider or two.
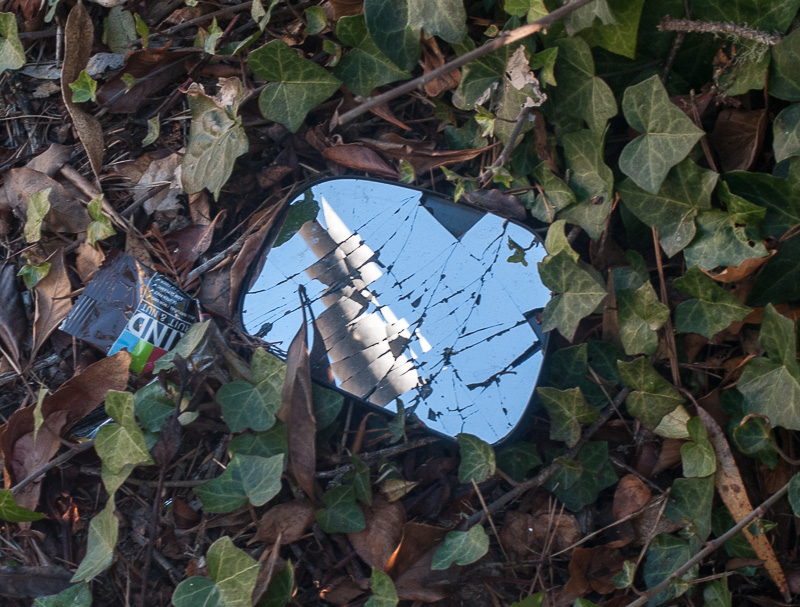
We did some perspective correction on a few of the images. And we cropped that broken mirror pretty severely. With a 50mm reach (which is about 75mm in a 35mm equivalent on the D300) you can't get very close.
And we relied on the Clarity slider a lot, too. Increasing it to add to the drama.
The subjects varied enough that we couldn't just copy and paste our adjustments. But what fun would that have been anyway?
